In the last week of September many countries celebrate the Full Moon Festival (the Chinese name is better). For my Mandarin class we celebrated this festival with mooncakes, Chinese and Japanese candy, as well as learning all sorts of legends about Moon Festival. This also includes how it is celebrated- in China all the family members return to their homes to be with their families, eat together, and appreciate the beautiful moon. Japanese gardens (kind of like a park, but Japanese, and I don't think you'd ever see a playset there) also have special offers for this holiday. Some Japanese grocers- and I don't doubt Chinese markets- carry flyers about places where they are celebrating. The Chinese markets also charge a lot for mooncakes as a business opportunity! Yum.

At any rate this is a week late, but I hope you still appreciate my design.^_^감사합니다!
お月見ネイル
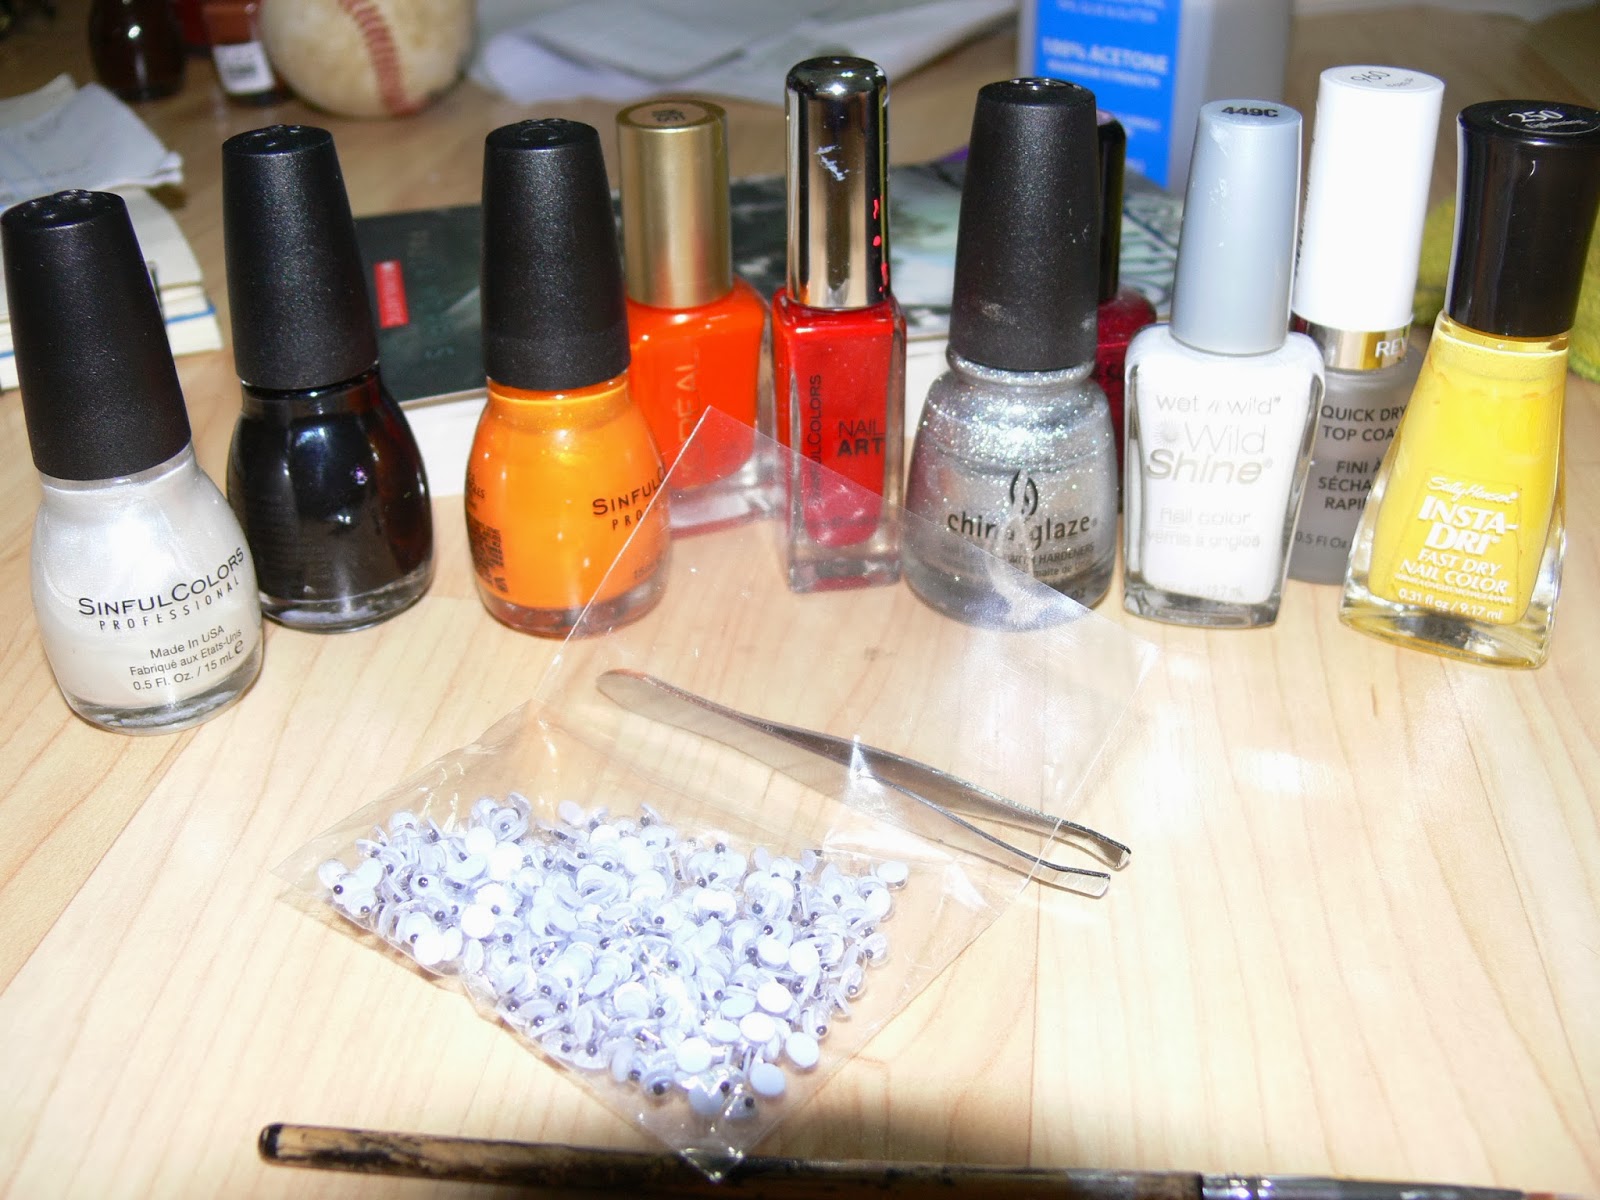
Colors: Tokyo Pearl, hot pink, orange, flat black, red, dark grey-silver, gold, coral pink, flat white
하얀색, 핑크, 주한색, 검정색, 빨강색, 실버, 노랑색
白色,パンク, 橙色, 黒色, 朱色, 銀色, 金色
Design Layout
*For the thumb on the right hand just do as well as you can (I painted that left-handed, whoops, so much for people asking me if I'm ambidextrous- I'm not. I just work hard ^_^)
Base Colors
 |
| Left hand |
Nail 1 Chinese Lanterns
1)Paint the white lanterns any color of your choice
2) Topcoat
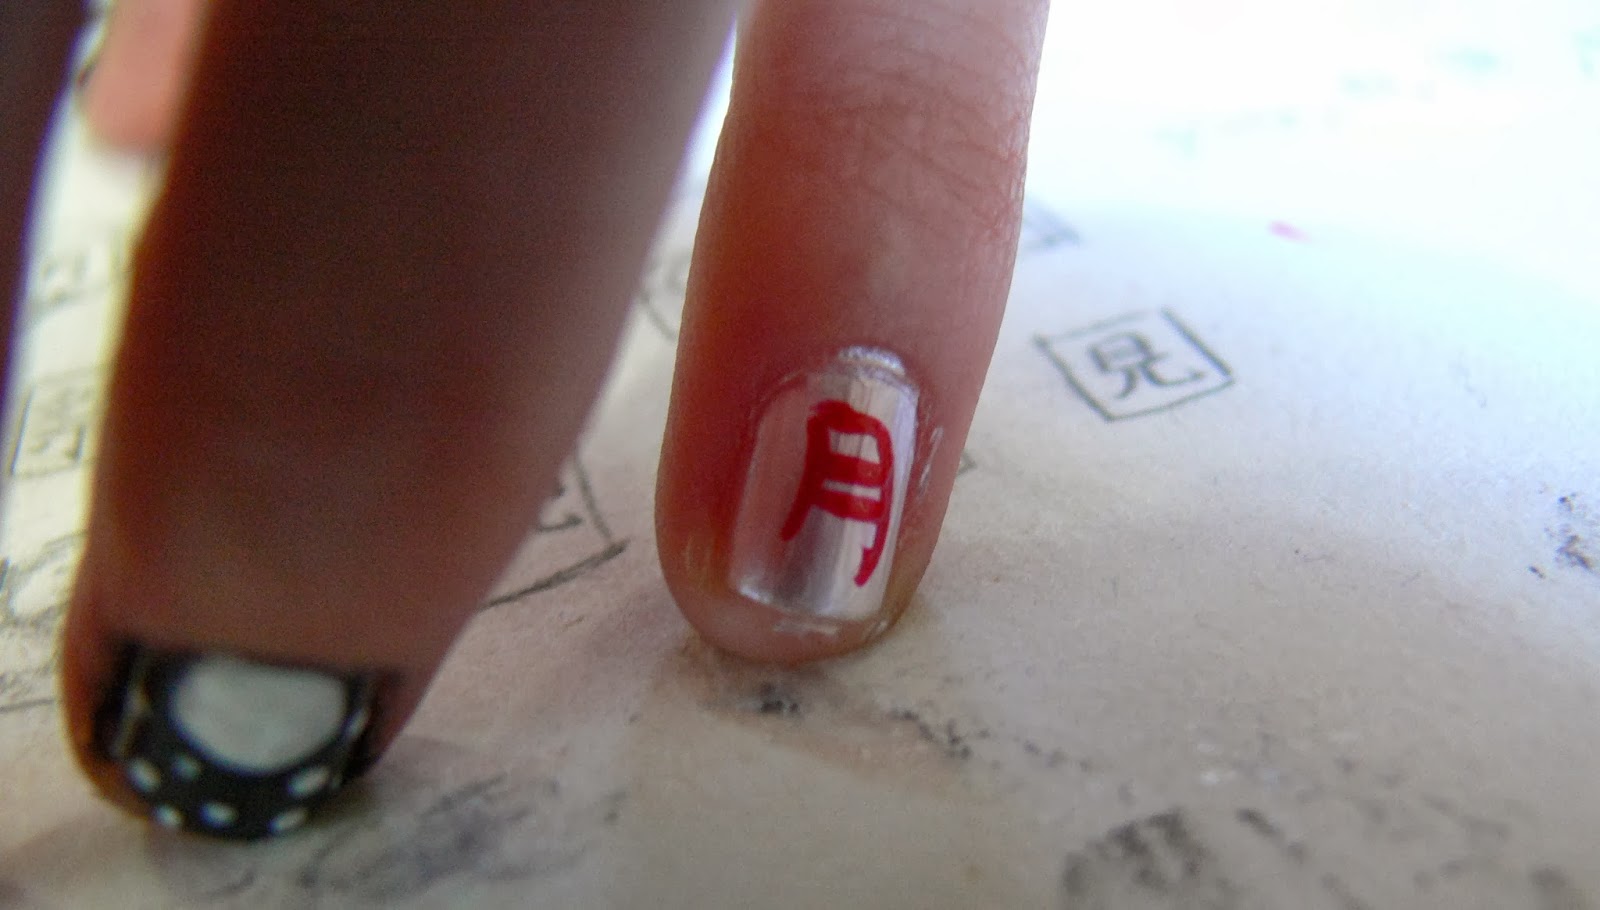
Nail 2 Festival Kanji
1) Paint the kanji in red (look at the nail design
2) Top coat
Nail 3 Peony- China's national flower
1) Paint the peony outline in black
2) Fill in with the coral pink (I used a pink that turns purple in the sunlight)
3) Top Coat
Nail 4 Full Moon
1) Paint the moon and stars in flat white
2) Paint Tokyo Pearl color over the moon
Nail 5 Moon Kanji
1) Paint the kanji for moon in red
2) Top coat
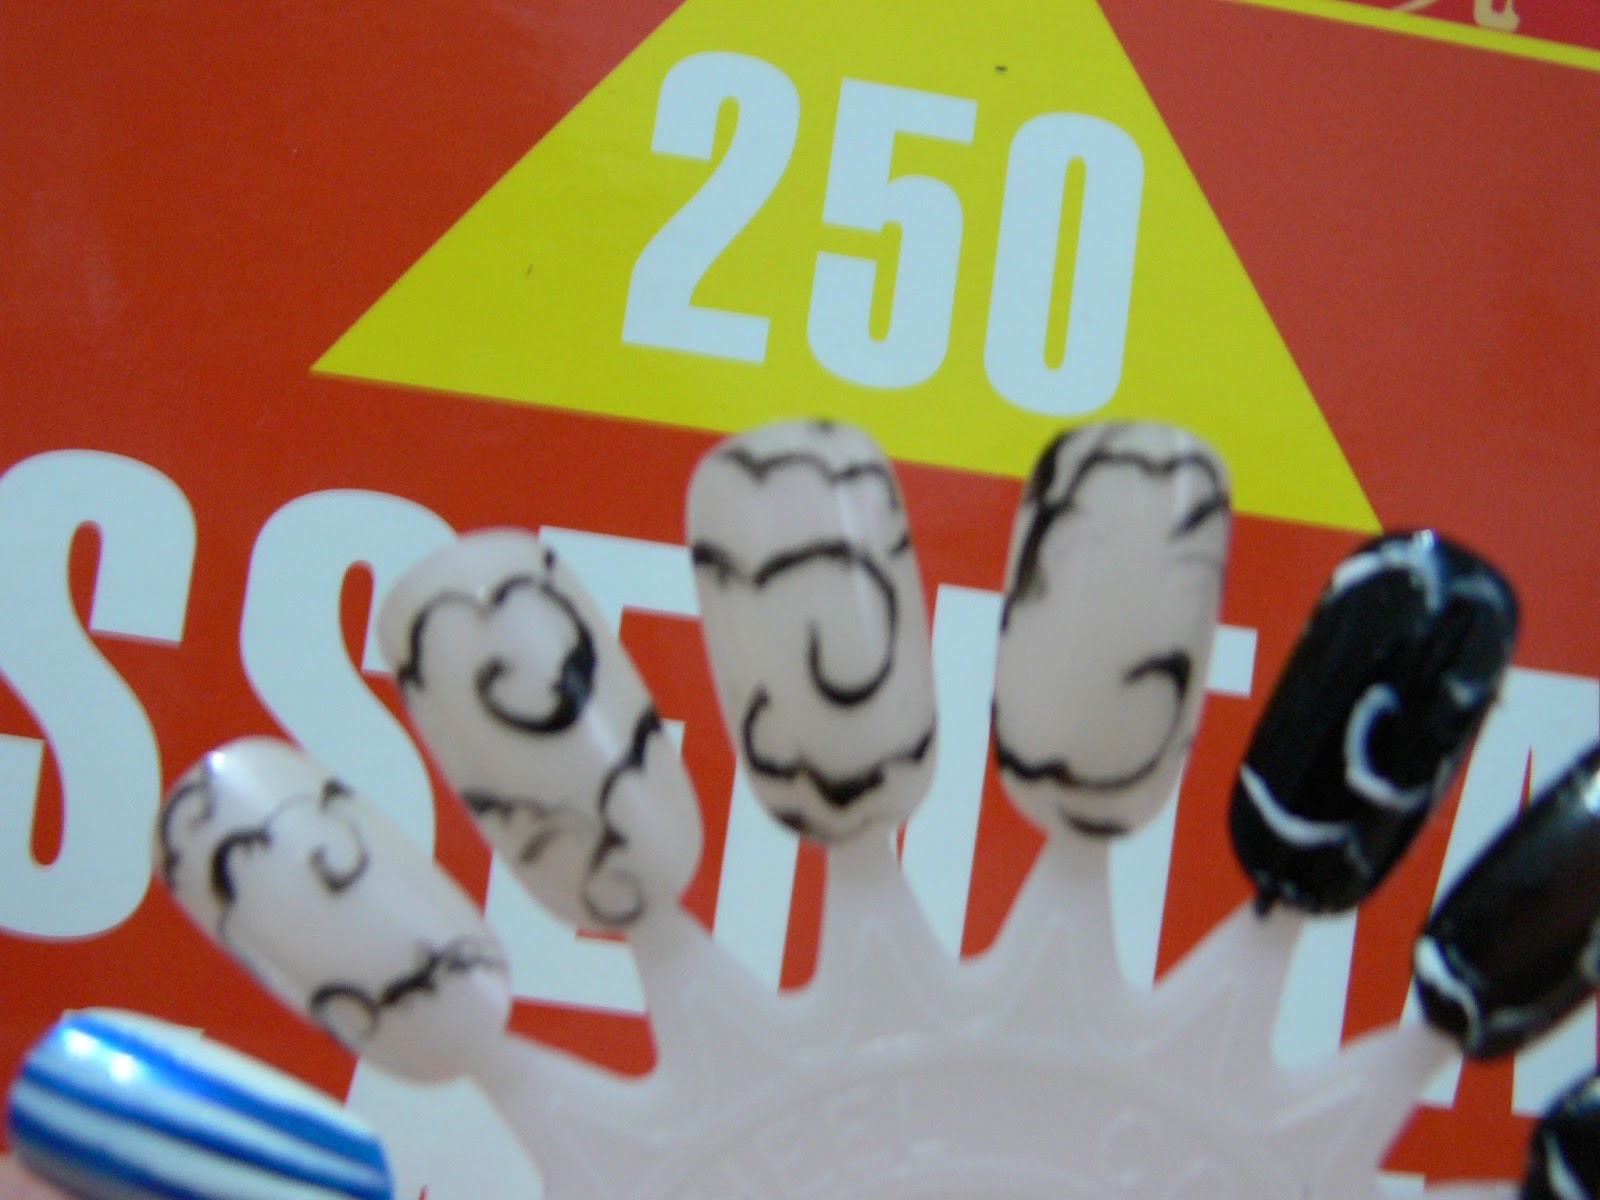
Nail 6 Oriental peace symbol
1) Get as close as you can to the original design- don't paint this left handed! use the black
2) Topcoat (the white chips easily)
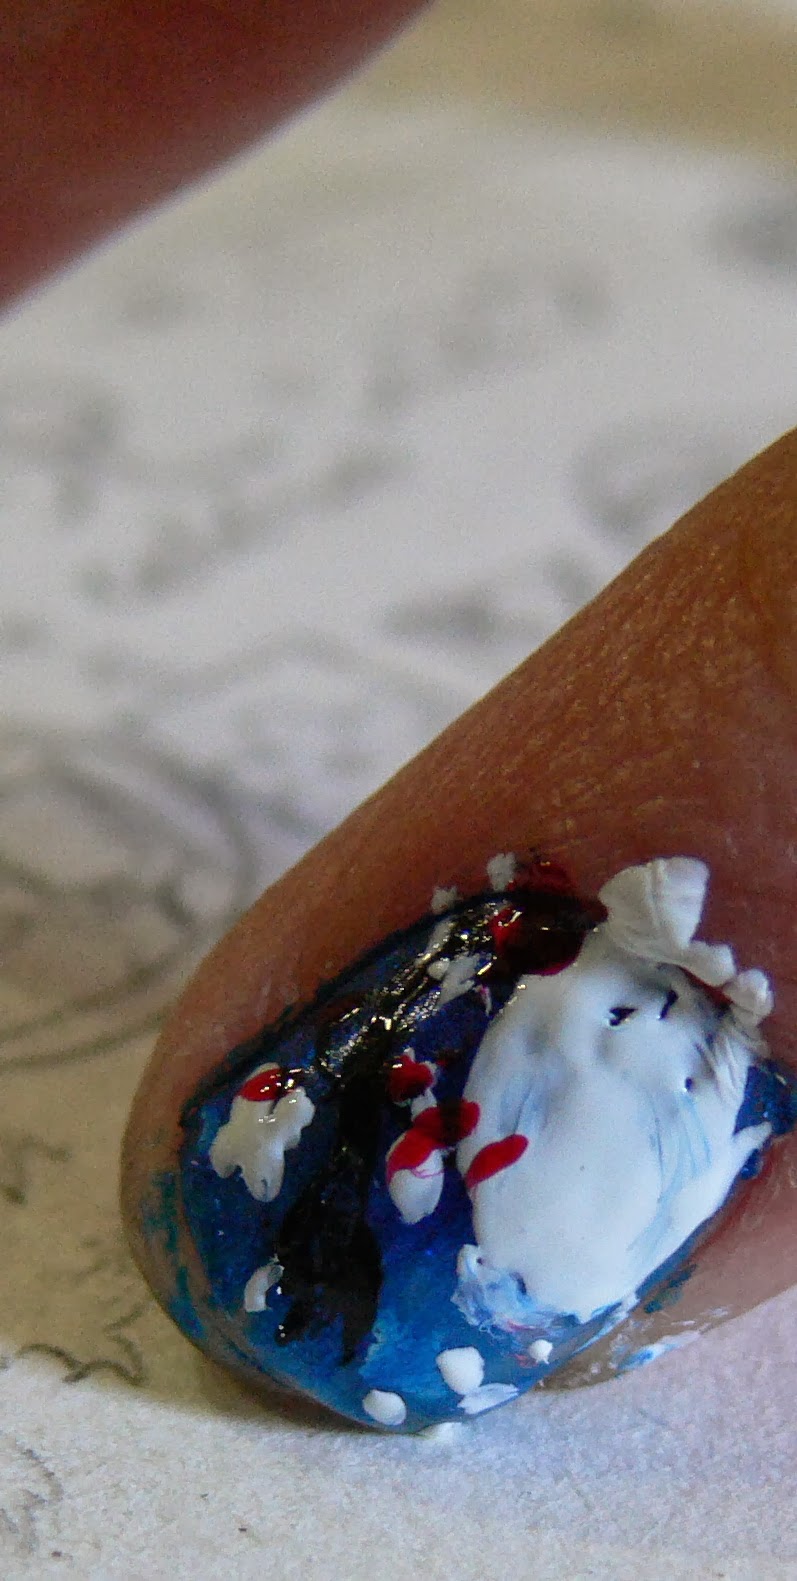
Nail 7 Moon and flowers
1) Paint the tree in black
2) Paint the moon white
3) Paint the flowers in white and red
 |
| The nail polish on the skin will go away in two days |
Nail 8 Celebrate Kanji
1) Paint the kanji in red
2) Top coat
Nail 9 Otsuki
1) paint the Japanese Hiragana "O" next to the kanji for moon in white (look at design)
Nail 10 Miru- to see
1) Paint the kanji for Miru- to see in white
2) Top coat
FINAL LOOK
Note to self- NEVER EVER paint Kanji LEFT HANDED. It defies the Chinese writing system and as the Japanese kanji were taken/adapted from the Chinese characters do not ever break the Chinese writing rules if you can help it.