Chinese Lantern- Rain in China/ 충국에 비가 온다 메니큐어! "中国に雨が下りそうです"ネイルア-ト
So this was completely off the top of my head with no foresight in design. This is a very short tutorial and very simple compared to what I usually do (usually two nails are never the same!) The idea for this nail design came to me while watching Pixar's Blue Umbrella short movie and I was wondering how to do rain drops on a nail, which turned out amazing and very VERY easy. For once. I still say getting paid for all these great ideas would be nice... ^_^
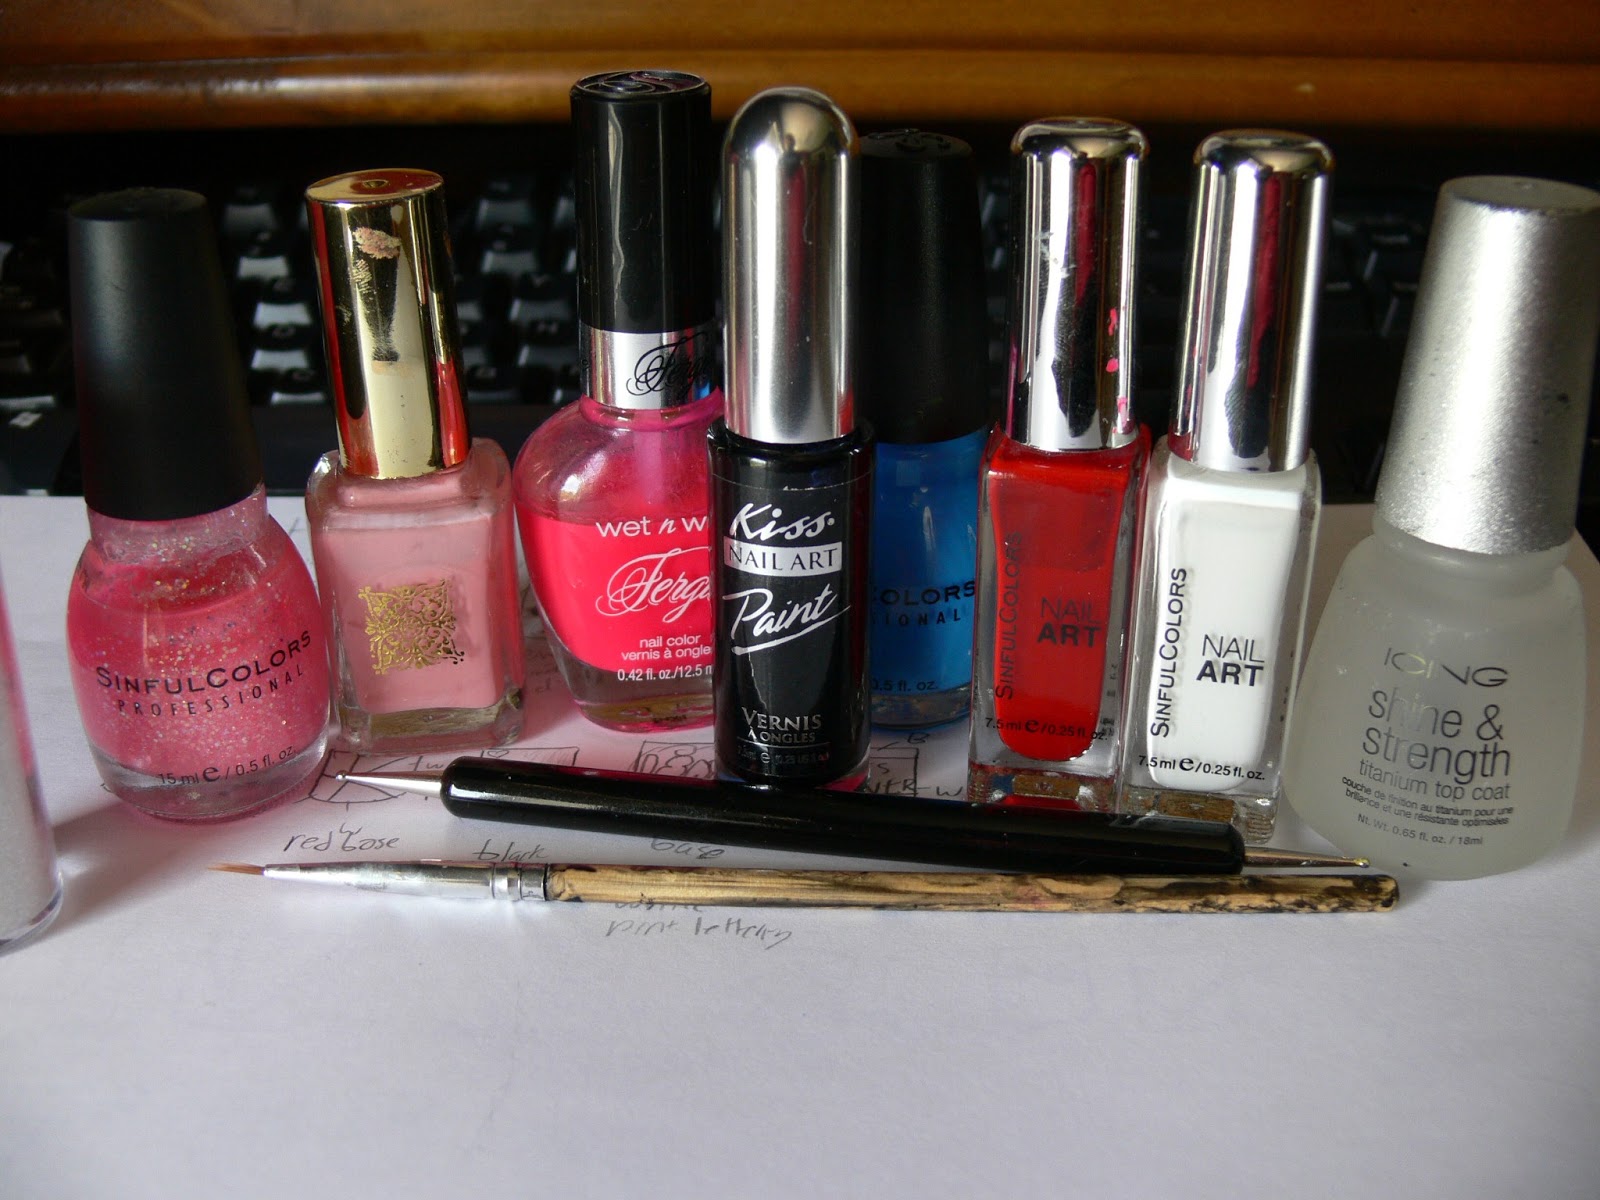
Colors you will need:

하얀색,빨강색, 검정색, 주한색, 핑크, 초록색, 투명 매니큐어
銀色, 白色, 緑色, 赤い, 橙色, 黒色, パンク, 明確なマニキュア
Base Colors
1) With Sally's Magnetic things follow the instructions carefully and do it very fast or it won't work. Believe me I know. The thumb doesn't matter as much but do a good job on the other fingers because you won't be painting designs on them. You'll be flicking on raindrops! Yay!


Thumb- Chinese Lanterns
1) Paint colors over the white so your thumb looks like this

2) Wait for it to dry then paint Asian Nail Art in White over it (top coat is optional, you can flick rain drops on it- which is in the tutorial for 3 of the 5 other fingers, or top coat it. Your choice)
 |
| Same as my blog background! |
Rain Drop Nails
1) Put a huge dot of clear polish on a paper plate
2) Put a couple drops of acetone in the clear polish
3) Use a nail brush to swirl it until it is the same consistency as water
4) Dab and flick it over the nails you painted with Magnetic polish
5) NO TOP COAT
* I like this because it makes them look wet and makes them fun to touch. It reminds me of rain. Optional- you can do lanterns on all your nails if you like because now you know how but plain is better for rain drops

Asian Woman+ Chinese characters
1) Paint the woman's face in black first
2) Using a lucky red color paint some Chinese characters for luck and good fortune around it
3) NO TOP COAT (especially if you use the same nail polish as I did)


Finished Look
1) Repeat all above steps on other hand

It doesn't look like much until you get up close, then it's beautiful ^_^